A 6-Step Hiking Guide To Mohawk Lake, CO
If you ever find yourself near Breckenridge, Colorado, and want to get some incredible mountain views and great exercise (before indulging in mind blowing chili cheese fries at Downstairs at Eric's on Main Street) - this hike is for you. Here's a 6-step guide to our favorite hike.
1. This hike starts out with a rather long peaceful stroll through the woods. At a couple of different points there will be small streams that you'll need to cross, but other than that we'd rate this first part of the hike as decently easy. Pro tip: you might wan to conserve your energy - it all seems nice and easy now, but it will get a lot steeper (and more scenic) in just a bit!
2. Once you break out of the woods you'll get your first extremely pretty view. May we suggest you take a quick break here to soak it in and have a snack (in our case, sharing a banana). You'll most likely be in awe already at this point, but just wait, it's about to get better.
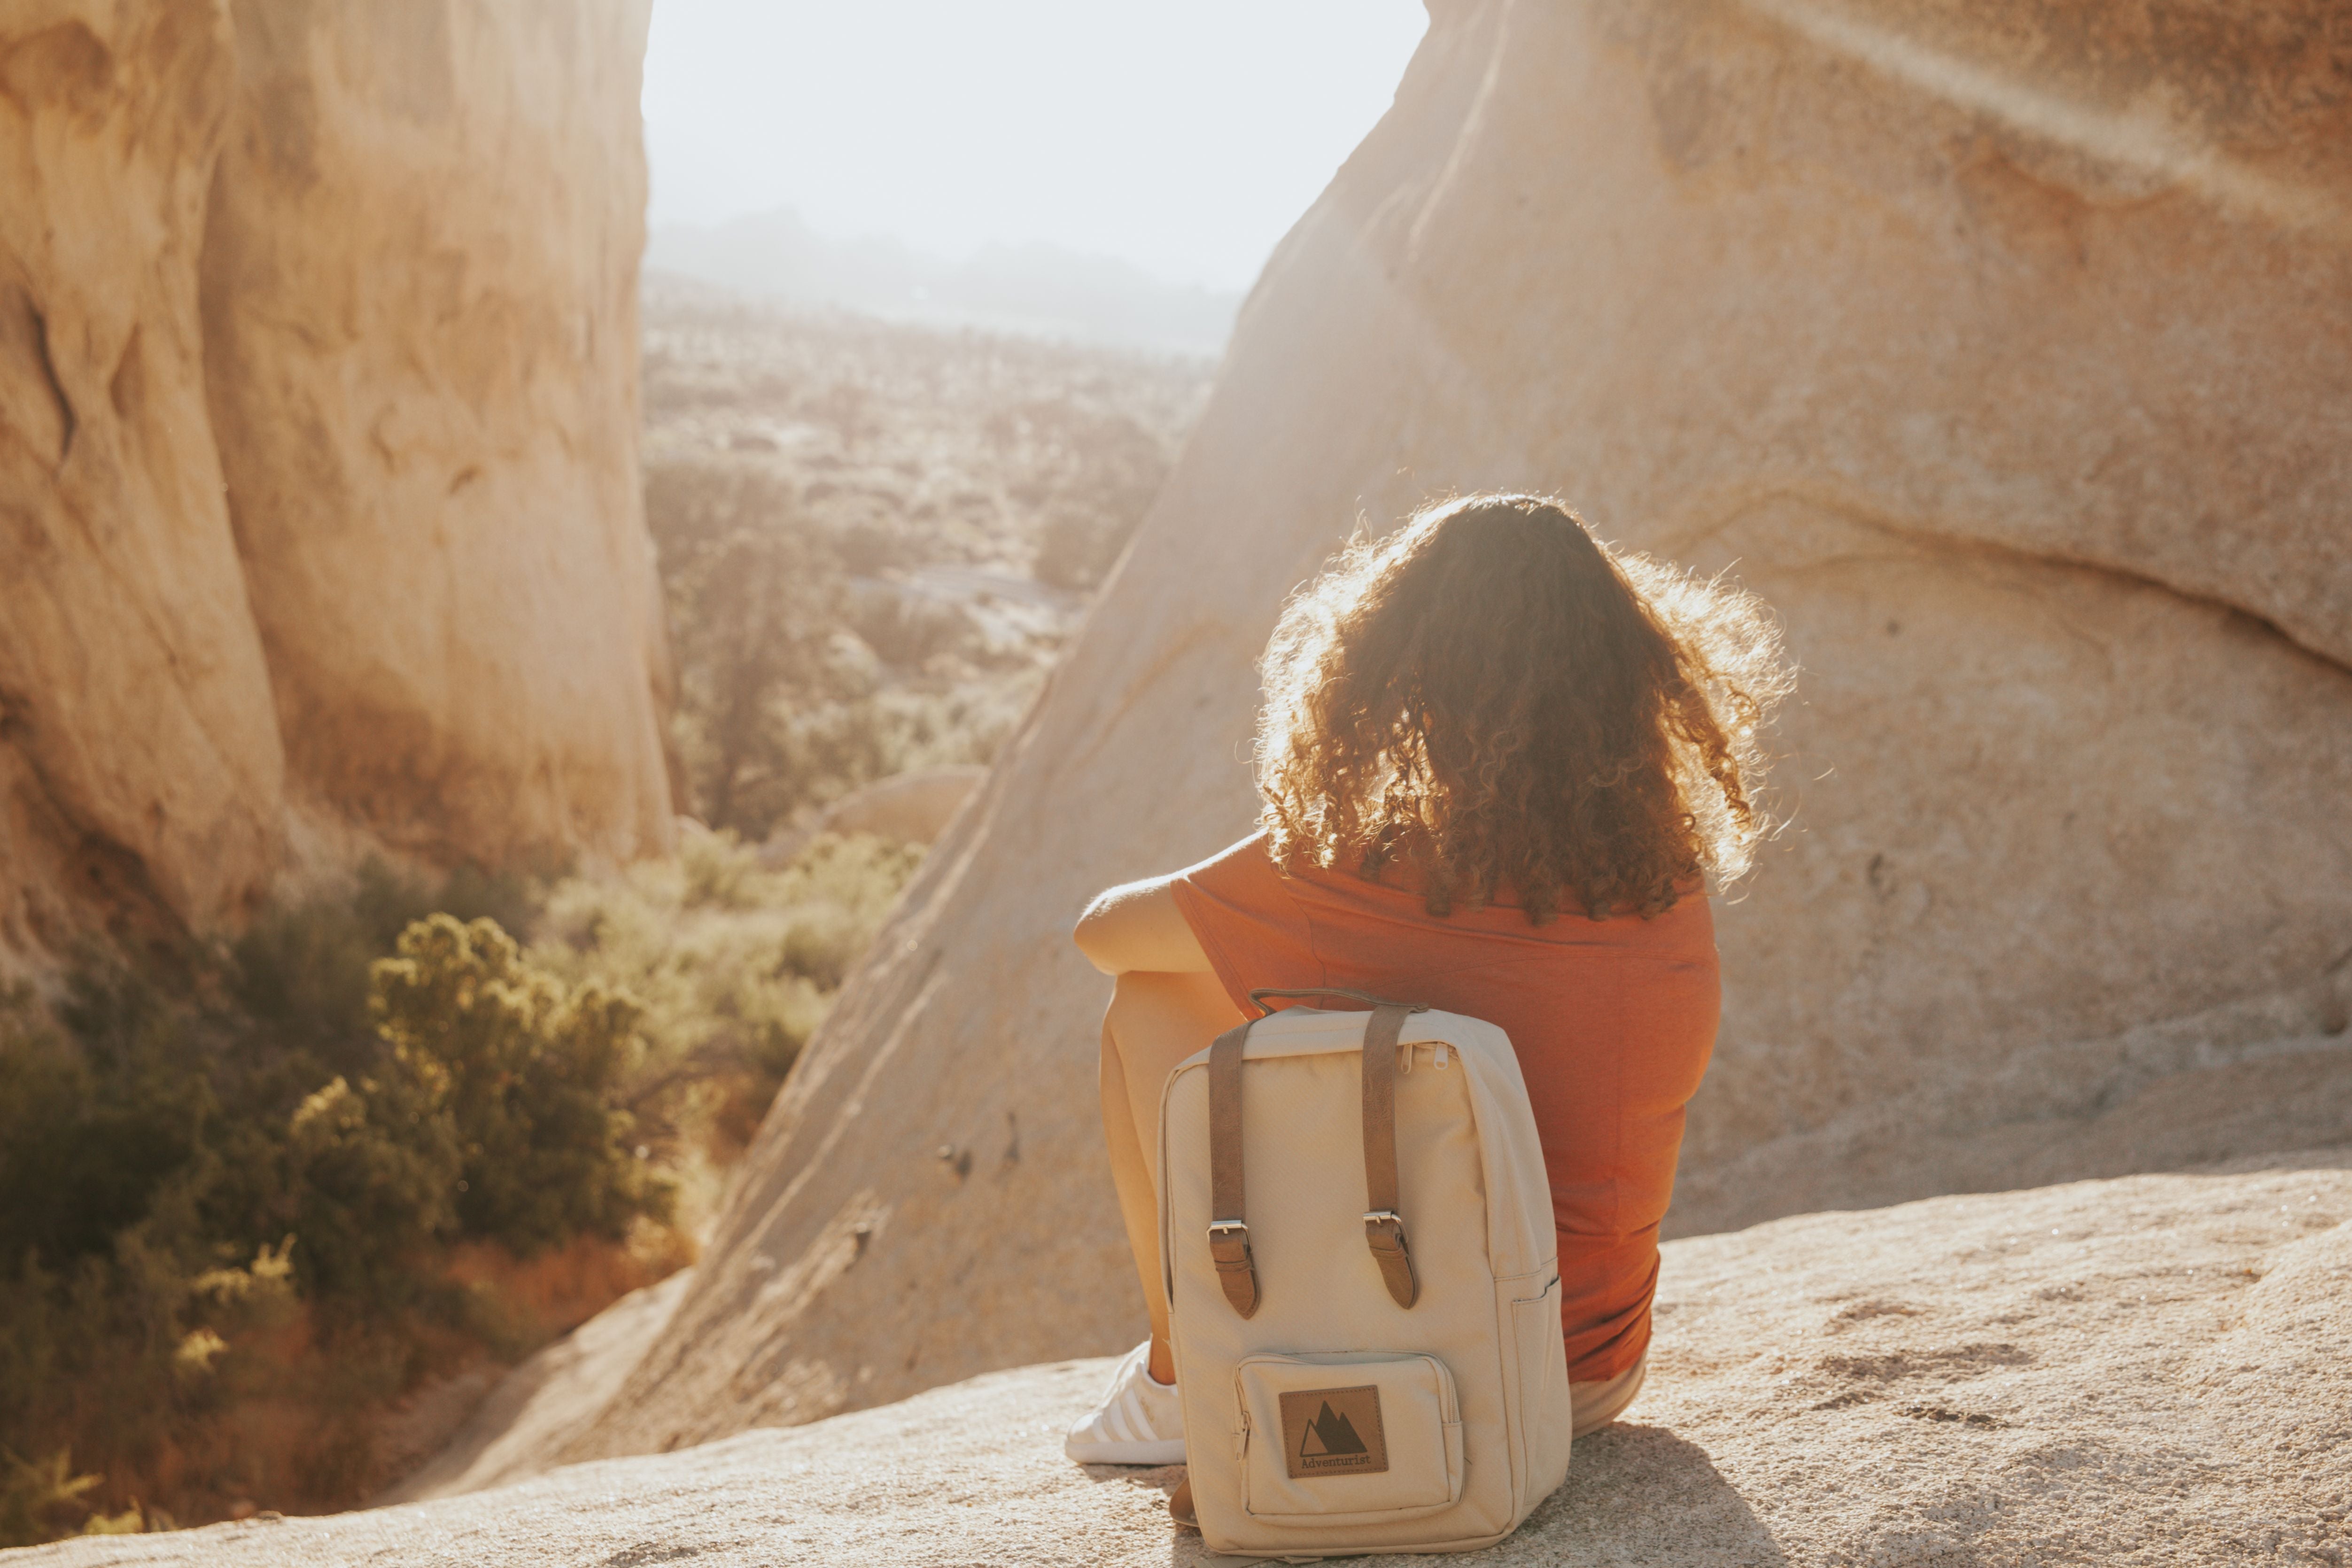
(The Classic backpack has two water bottle pockets, and enough room for snacks, an extra sweater, and more water - you'll need it.)
3. After you're recharged and re-fueled the real fun begins. The next part of the hike is a pretty steep climb up to Lower Mohawk Lake. There's a chance your legs will be burning like wildfire as you try to catch your breath and simultaneously enjoy the panoramic views, but it will all be worth it soon.
4. You've finally made it to the first lake, congrats! At this point you'll be rewarded with a crystal clear lake surrounded by rocky peaks. Birds will be chirping and a light breeze will cool you off as you soak in the scenery. Sit down, lean back and relax - but don't get too comfy, there's still a little further to go for the ultimate reward.
(Ps. This color of the Vintage Knit Beanie will be available soon!)
5. By the lower lake you might be tired and wondering if the Upper Mohawk Lake will really even be that much different - should you really keep going up after that climb? The answer is: yes. We promise you that it will be worth it. The hike from the lower lake to the upper lake is far easier than what you've already done (just about another half mile of incline), and the panoramic mountain/lake/snowcapped peak views from up there are 100% worth the small amount of extra effort.
6. You made it! Congrats!
Once you finally reach the last stop (the upper lake), we suggest climbing up the rocks immediately to your left, and from there enjoy the view from the highest point over the lake - and the fact that it's all downhill from here (in a good way)!
(Check out the Weekender in Pine and Black here.)
Note: On the way back, the "peaceful stroll through the woods" will all of a sudden feel like a never ending walk of despair, kind of like you're glitching or walking in circles. At each bend you'll think that you've finally reached the parking lot, just to find even more trail, more trees. Don't worry - it may seem like the "woodsy part" has become twice as long as when you started out, but just as you're ready to give up you'll see a glimmer of the sun reflecting on your car in the lot, and you've made it!
Tip: Bring plenty of water and snacks. If you're visiting out of state some parts might be pretty exhausting, so start early in the morning and take your time (especially with the steeper inclines). Enjoy!


